VB.Net - Nested If Statements
It is always legal in VB.Net to nest If-Then-Else statements, which means you can use one If or ElseIf statement inside another If ElseIf statement(s).
Syntax
The syntax for a nested If statement is as follows −
If( boolean_expression 1)Then
'Executes when the boolean expression 1 is true
If(boolean_expression 2)Then
'Executes when the boolean expression 2 is true
End If
End If
VB.NET PROGRAM
Module Module1
Sub Main()
'local variable definition
Dim a As Integer = 100
Dim b As Integer = 200
' check the boolean condition
If (a = 100) Then
' if condition is true then check the following
If (b = 200) Then
' if condition is true then print the following
Console.WriteLine("Value of a is 100 and b is 200")
End If
End If
Console.WriteLine("Exact value of a is : {0}", a)
Console.WriteLine("Exact value of b is : {0}", b)
Console.ReadLine()
End Sub
End Module
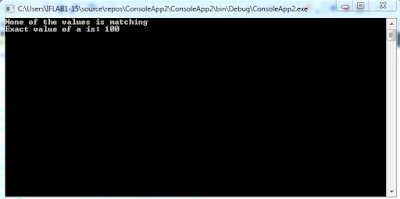
When the above code is compiled and executed, it produces the following result −
Value of a is 100 and b is 200
Exact value of a is : 100
Exact value of b is : 200
If you liked the tutorial then don’t forget to comment and share!